

 Red Velvet Wreath Whoopie Pies Winter Berries Cream | recipesbybrad.comFestive red velvet wreath-shaped whoopie pies filled with cream and topped with fresh winter berries for holiday celebrations
Quick Overview
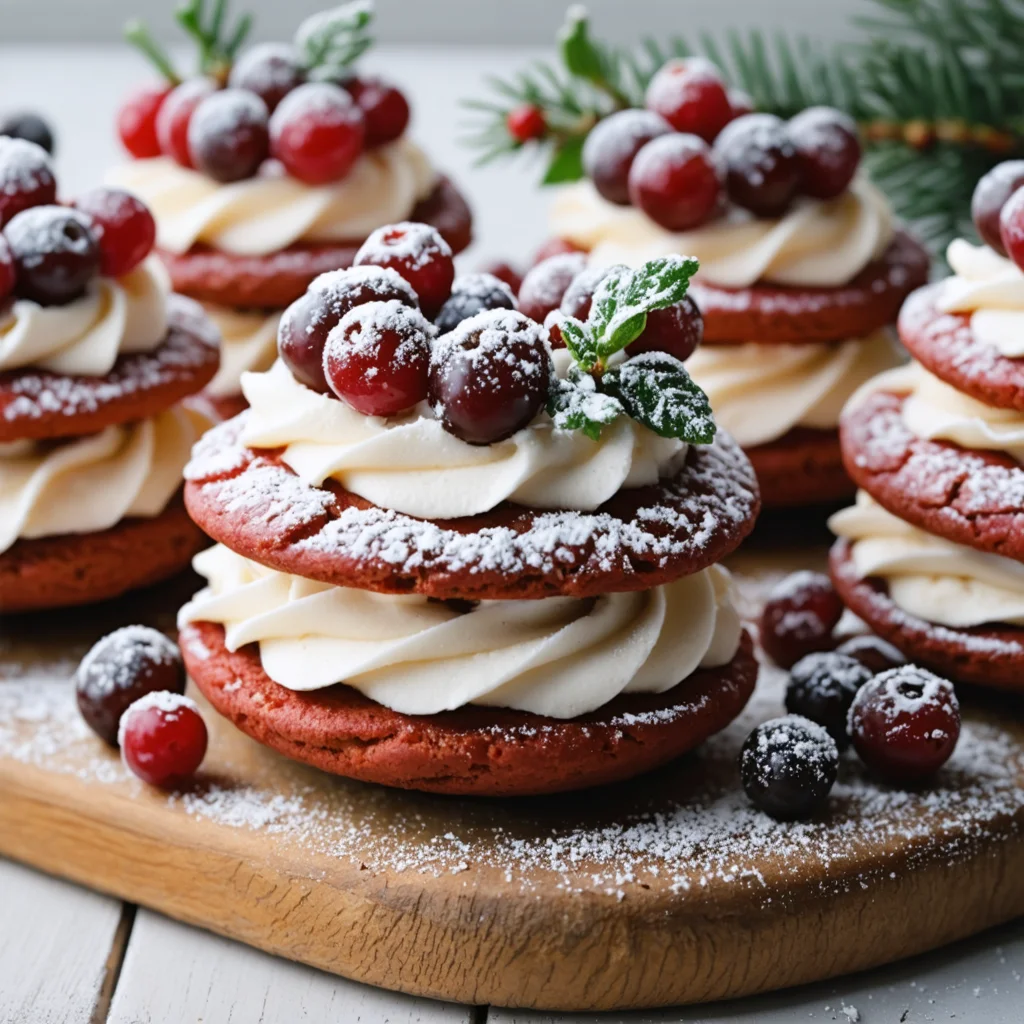
These Red Velvet Wreath Whoopie Pies with Winter Berries & Cream bring festive magic to your holiday table. The soft, pillowy red velvet cookies shaped like wreaths create the perfect base for luscious cream filling. Fresh winter berries add natural sweetness and beautiful color contrast.This recipe transforms traditional whoopie pies into stunning holiday centerpieces. Each bite delivers rich cocoa flavor balanced with tangy cream cheese filling. The wreath shape makes these treats perfect for Christmas parties, winter gatherings, or special gift-giving occasions.
Why These Holiday Treats Stand Out
The vibrant red color comes from natural cocoa and food coloring, creating that signature red velvet appearance. Winter berries like cranberries, pomegranate seeds, and blackberries provide fresh bursts of flavor. The cream filling combines cream cheese, butter, and vanilla for irresistible richness.
Professional bakers love this recipe because it produces consistent results every time. Home cooks appreciate the straightforward technique that doesn’t require special equipment. The wreath shape adds visual appeal that impresses guests without complicated decorating skills.
Perfect for Holiday Celebrations
These festive cookies work beautifully for Christmas cookie exchanges, holiday office parties, and family gatherings. The individual serving size makes them ideal for buffet tables or dessert platters. Kids and adults alike enjoy the playful wreath presentation combined with familiar red velvet flavors.
The winter berry topping provides natural antioxidants and vitamins while adding festive colors. Fresh berries stay vibrant for hours, making these treats photo-ready for social media sharing. The combination of textures keeps every bite interesting and satisfying.
Ingredient Breakdown
Success with Red Velvet Wreath Whoopie Pies with Winter Berries & Cream depends on quality ingredients and precise measurements. Each component plays a specific role in creating the perfect texture, flavor, and appearance. Fresh ingredients produce the best results for both taste and visual appeal.
Red Velvet Cookie Base Ingredients
All-Purpose Flour (2½ cups)
Forms the structural foundation of these soft cookies. Use unbleached flour for better flavor development. Measure flour by spooning into cups and leveling off for accuracy. Proper flour measurement prevents dense or tough textures in the finished cookies.
Unsweetened Cocoa Powder (3 tablespoons)
Provides the chocolate undertone that defines red velvet flavor. Dutch-processed cocoa works best for smooth, rich taste. Sift cocoa powder to eliminate lumps before mixing. Quality cocoa powder makes a noticeable difference in the final flavor profile.
Baking Soda (1 teaspoon)
Acts as the primary leavening agent for soft, tender cookies. Fresh baking soda produces better rise and texture. Test freshness by adding a pinch to vinegar; it should bubble vigorously. Proper leavening creates the characteristic whoopie pie texture.
Salt (½ teaspoon)
Balances sweetness and enhances overall flavor complexity. Fine sea salt or table salt work equally well. Salt also strengthens gluten structure for better cookie shape retention. Don’t skip this ingredient as it significantly impacts taste balance.
Vegetable Oil (⅓ cup)
Creates moisture and tender crumb texture in the cookies. Neutral oils like canola or vegetable work best without competing flavors. Oil produces softer cookies than butter alone. Room temperature oil mixes more easily with other ingredients.
Granulated Sugar (1 cup)
Sweetens the cookies and helps create proper texture through creaming action. Regular white sugar produces the cleanest flavor profile. Sugar also contributes to browning and helps cookies hold their wreath shape during baking.
Large Egg (1)
Binds ingredients together and adds richness to the cookie dough. Use room temperature eggs for better incorporation. Fresh eggs produce better rise and structure. The egg also contributes to the tender, cake-like texture.
Buttermilk (1 cup)
Provides tanginess that balances sweetness and activates baking soda for proper rise. Fresh buttermilk works best, but powdered buttermilk mixed with water also works. The acidity creates the characteristic red velvet flavor profile and tender texture.
Red Food Coloring (2 tablespoons)
Creates the signature red velvet color that makes these cookies visually striking. Gel food coloring produces more vibrant results than liquid versions. Add gradually to achieve desired color intensity without affecting dough consistency.
Vanilla Extract (1 teaspoon)
Adds depth and rounds out the flavor profile of the cookies. Pure vanilla extract produces better results than imitation vanilla. Quality vanilla complements the cocoa and red velvet flavors without overpowering other ingredients.
Cream Filling Components
Cream Cheese (8 ounces)
Forms the base of the rich, tangy filling that complements the red velvet cookies. Use full-fat cream cheese for best texture and flavor. Bring to room temperature before mixing for smooth, lump-free filling consistency.
Unsalted Butter (½ cup)
Adds richness and helps create smooth, pipeable filling texture. Room temperature butter creams easily with cream cheese. Unsalted butter allows better control over final flavor balance in the sweet filling mixture.
Powdered Sugar (3 cups)
Sweetens the filling and provides structure for proper consistency. Sift powdered sugar to prevent lumps in the finished filling. Confectioner’s sugar dissolves easily and creates smooth texture perfect for piping or spreading between cookies.
Heavy Cream (2 tablespoons)
Adjusts filling consistency to perfect spreadable texture. Add gradually to achieve desired thickness. Heavy cream also adds richness and helps create stable filling that won’t separate or become too thin over time.
Vanilla Extract (1 teaspoon)
Complements the cream cheese base with warm, sweet flavor notes. Pure vanilla extract produces superior taste compared to artificial versions. Vanilla helps balance the tanginess of cream cheese for well-rounded filling flavor.
Winter Berry Topping Selection
Fresh Cranberries (½ cup)
Provide tart flavor contrast and beautiful red color for festive appearance. Choose firm, plump cranberries without soft spots. Fresh cranberries add textural interest and natural sweetness that complements the rich cream filling perfectly.
Pomegranate Seeds (⅓ cup)
Add jewel-like appearance and burst of sweet-tart flavor. Fresh pomegranate seeds provide better texture than dried versions. These seeds contribute antioxidants while creating stunning visual appeal that makes cookies photo-worthy for special occasions.
Fresh Blackberries (¼ cup)
Contribute deep purple color and sweet flavor balance to the winter berry medley. Select firm berries without mold or soft spots. Blackberries add natural sweetness that pairs beautifully with tangy cream cheese filling.
Step By Step Recipe: Red Velvet Wreath Whoopie Pies with Winter Berries & Cream
Follow these detailed instructions to create perfect Red Velvet Wreath Whoopie Pies with Winter Berries & Cream. Each step builds upon the previous one to achieve professional results. Take your time with each stage for best outcomes and beautiful presentation.
Preparing the Cookie Dough
Step 1: Mix Dry Ingredients
Preheat your oven to 350°F and line two large baking sheets with parchment paper. In a medium bowl, whisk together flour, cocoa powder, baking soda, and salt until well combined. Sifting these dry ingredients creates a lighter texture and prevents lumps in the finished dough. Set this mixture aside while you prepare the wet ingredients for proper incorporation.
Step 2: Combine Wet Ingredients
In a large mixing bowl, whisk together vegetable oil and granulated sugar until well blended. Add the egg and beat until the mixture becomes lighter in color. Gradually stir in buttermilk, red food coloring, and vanilla extract. Mix thoroughly to distribute the color evenly throughout the liquid mixture before adding dry ingredients.
Step 3: Form Cookie Dough
Add the flour mixture to the wet ingredients in three additions, mixing gently after each addition until just combined. Don’t overmix as this can create tough cookies. The dough should be smooth and vibrant red in color. If the dough seems too thick, add one tablespoon of buttermilk at a time until it reaches proper consistency for piping.
Shaping and Baking the Wreaths
Step 4: Create Wreath Shapes
Transfer the dough to a piping bag fitted with a large round tip, or use a zip-top bag with the corner cut off. Pipe 3-inch circles onto the prepared baking sheets, leaving the centers hollow to create wreath shapes. Space cookies at least 2 inches apart as they will spread slightly during baking. Make sure each wreath has consistent thickness for even baking.
Step 5: Bake the Cookies
Bake the cookies for 12-15 minutes, or until they spring back lightly when touched and the edges are set. The centers should still look slightly soft. Rotate the baking sheets halfway through baking for even browning. Don’t overbake as the cookies will continue cooking on the hot pans after removal from the oven.
Step 6: Cool Completely
Allow cookies to cool on the baking sheets for 5 minutes before transferring to wire racks. Cool completely before filling, as warm cookies will melt the cream filling. This cooling process typically takes 30-45 minutes depending on room temperature. Proper cooling prevents the filling from becoming runny or separating when applied.
Making the Cream Filling
Step 7: Prepare Cream Base
In a large bowl, beat room temperature cream cheese and butter with an electric mixer until light and fluffy, about 3-4 minutes. Scrape down the sides of the bowl frequently to ensure even mixing. The mixture should be completely smooth without any lumps of cream cheese or butter remaining for the best final texture.
Step 8: Add Sweetener and Flavoring
Gradually add powdered sugar one cup at a time, beating well after each addition. Add vanilla extract and heavy cream, then beat on high speed for 2-3 minutes until the filling is smooth and pipeable. Taste and adjust sweetness if needed. The filling should hold its shape when piped but remain creamy and spreadable.
Assembly and Final Touches
Step 9: Fill the Whoopie Pies
Transfer the cream filling to a piping bag fitted with a medium round tip. Pipe generous amounts of filling onto the flat side of half the cookies, creating an even layer that reaches the edges. The filling should be thick enough to support the winter berries without spreading too thin when the top cookie is added.
Step 10: Add Winter Berry Topping
Gently press fresh cranberries, pomegranate seeds, and blackberries into the cream filling, distributing them evenly around the wreath shape. Use enough berries to create visual impact while leaving some cream filling visible. Press berries lightly so they adhere but don’t sink completely into the filling, maintaining the wreath’s festive appearance.
Step 11: Complete Assembly
Carefully place the remaining cookies on top of the filled ones, pressing gently to secure without squashing the berries or forcing out too much filling. The top cookies should sit level and stable. Refrigerate the assembled whoopie pies for at least 30 minutes before serving to allow the filling to set properly and flavors to meld together.
Serving and Storing Tips
Proper serving and storage techniques help maintain the quality and appearance of your Red Velvet Wreath Whoopie Pies with Winter Berries & Cream. These guidelines keep the cookies fresh and the berries vibrant for maximum enjoyment and visual appeal.
Optimal Serving Suggestions
Temperature for Best Flavor
Serve these whoopie pies at room temperature for optimal flavor and texture. Remove from refrigeration 15-20 minutes before serving to allow the filling to soften slightly. The cookies taste best when the cream filling is creamy rather than firm, and room temperature brings out the full red velvet flavor profile.
Presentation Ideas
Arrange the wreath-shaped treats on festive platters or cake stands for maximum visual impact. Dust lightly with powdered sugar for a snowy effect, or add fresh mint sprigs between cookies for additional color contrast. Individual paper doilies under each cookie create elegant presentation for special occasions.
Portion Control
These rich treats are quite filling, so one per person is typically sufficient for dessert. For larger gatherings or buffet settings, consider cutting each whoopie pie in half to create smaller portions. This allows guests to sample other desserts while still enjoying these festive cookies.
Storage Guidelines
Short-Term Storage
Store assembled whoopie pies in an airtight container in the refrigerator for up to 3 days. Place parchment paper between layers to prevent sticking. The cream cheese filling requires refrigeration to maintain food safety and prevent spoilage. Bring to room temperature before serving for best taste and texture.
Freezing Instructions
Freeze unfilled cookies wrapped individually in plastic wrap for up to 2 months. Thaw completely before filling and serving. Don’t freeze assembled whoopie pies as the berries and cream filling don’t freeze well. Make fresh filling when ready to assemble previously frozen cookies for best results.
Berry Freshness Tips
Add winter berries just before serving for maximum freshness and visual appeal. If preparing several hours ahead, pat berries dry and store cookies in refrigerator. Fresh berries maintain their color and texture better when added at the last minute rather than sitting on the cream filling for extended periods.
Make-Ahead Strategies
Component Preparation
Bake cookies up to 2 days ahead and store in airtight containers at room temperature. Prepare cream filling the day before and refrigerate in a covered bowl. This approach allows you to assemble fresh whoopie pies quickly when needed while maintaining optimal texture and flavor in each component.
Party Planning
For large gatherings, set up an assembly station where guests can add their own berry toppings. Provide bowls of different winter berries and let people customize their treats. This interactive approach keeps berries fresh and adds entertainment value to your holiday celebration while reducing prep work.
Gift Packaging
Package individual whoopie pies in clear cellophane bags tied with festive ribbons for gift-giving. Include storage instructions on decorative cards. These treats make beautiful hostess gifts or holiday presents when properly packaged. Store packaged cookies in refrigerator until delivery to maintain freshness and food safety.
Mistakes to avoid
Creating perfect whoopie pies requires attention to detail and avoiding common pitfalls that can ruin your festive treats.
Overmixing the Batter
Overmixing red velvet batter creates tough, dense whoopie pies instead of soft, cake-like treats. Mix ingredients just until combined to maintain the delicate texture. The batter should look slightly lumpy rather than perfectly smooth. Stop mixing once you no longer see streaks of flour. This prevents gluten development that makes your festive treats chewy rather than tender and fluffy.
Incorrect Oven Temperature
Baking at wrong temperatures ruins the texture and appearance of your treats. Too hot creates burnt edges with raw centers, while too cool results in flat, pale whoopie pies. Always preheat your oven and use an oven thermometer to verify accuracy. Most ovens run hot or cold, so checking temperature prevents disappointing results and wasted ingredients for your winter celebration dessert.
Using Old Baking Powder
Expired baking powder creates flat, dense whoopie pies that lack proper rise and texture. Test your baking powder by mixing a teaspoon with hot water – it should bubble vigorously. Replace baking powder every six months for best results. Fresh leavening agents create the light, airy texture that makes these festive treats special for holiday gatherings and winter celebrations.
Tips and tricks
Master these professional techniques to create bakery-quality whoopie pies that impress guests and family during winter celebrations.
Perfect Cream Filling Consistency
Create smooth, pipeable cream filling by bringing all ingredients to room temperature before mixing. Cold butter creates lumpy filling that’s difficult to spread evenly. Beat butter until light and fluffy, then gradually add powdered sugar and cream cheese. The mixture should hold its shape when piped but remain creamy enough to bite through easily. Add vanilla extract and a pinch of salt to balance sweetness. If filling becomes too soft, refrigerate for fifteen minutes before using. This technique creates professional-looking results that complement the red velvet flavor beautifully and holds winter berries in place perfectly.
Achieving Vibrant Red Color
Natural red velvet color comes from the reaction between cocoa and acidic ingredients, but modern recipes need food coloring for vibrant results. Use gel food coloring instead of liquid to avoid thinning the batter. Start with less coloring than you think you need – colors deepen during baking. Red gel coloring works better than liquid versions for achieving that signature deep red hue. Mix coloring thoroughly into wet ingredients before adding flour to prevent streaking. The goal is rich, even color that makes your winter berry toppings pop visually and creates stunning contrast for holiday presentations.
Winter Berry Selection and Preparation
Choose firm, fresh berries for best results and visual appeal. Cranberries, raspberries, and blackberries work beautifully with red velvet flavors. Wash berries gently and pat completely dry before using to prevent bleeding into cream filling. For cranberries, consider lightly sugaring them to balance tartness. Fresh berries provide better texture than frozen ones, which can become mushy. Arrange berries on filled whoopie pies just before serving to maintain their shape and prevent moisture from affecting the treats. This timing keeps your festive desserts looking professional and tasting fresh throughout your winter gathering.
Suggestions for Red Velvet Wreath Whoopie Pies with Winter Berries & Cream
Transform your whoopie pies into stunning winter desserts with these creative presentation and flavor enhancement ideas.
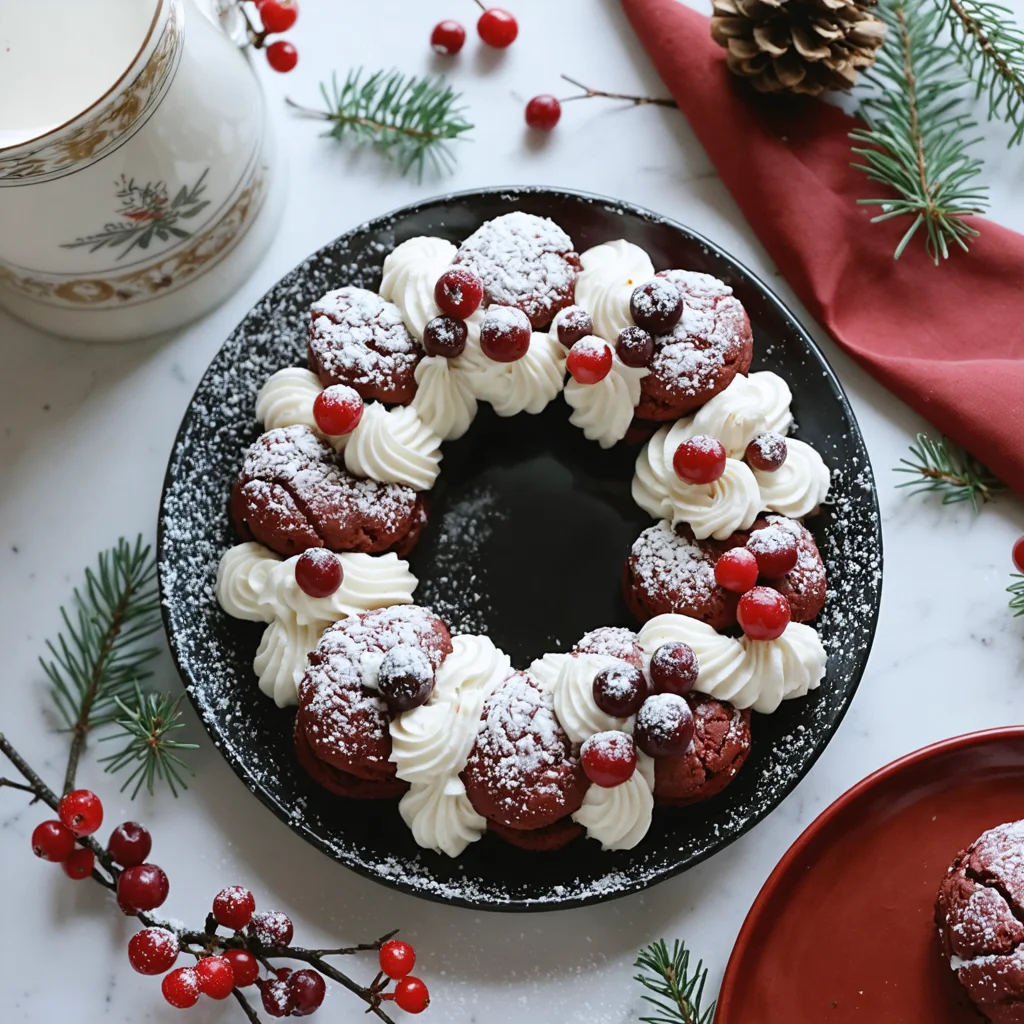
Festive Wreath Presentation
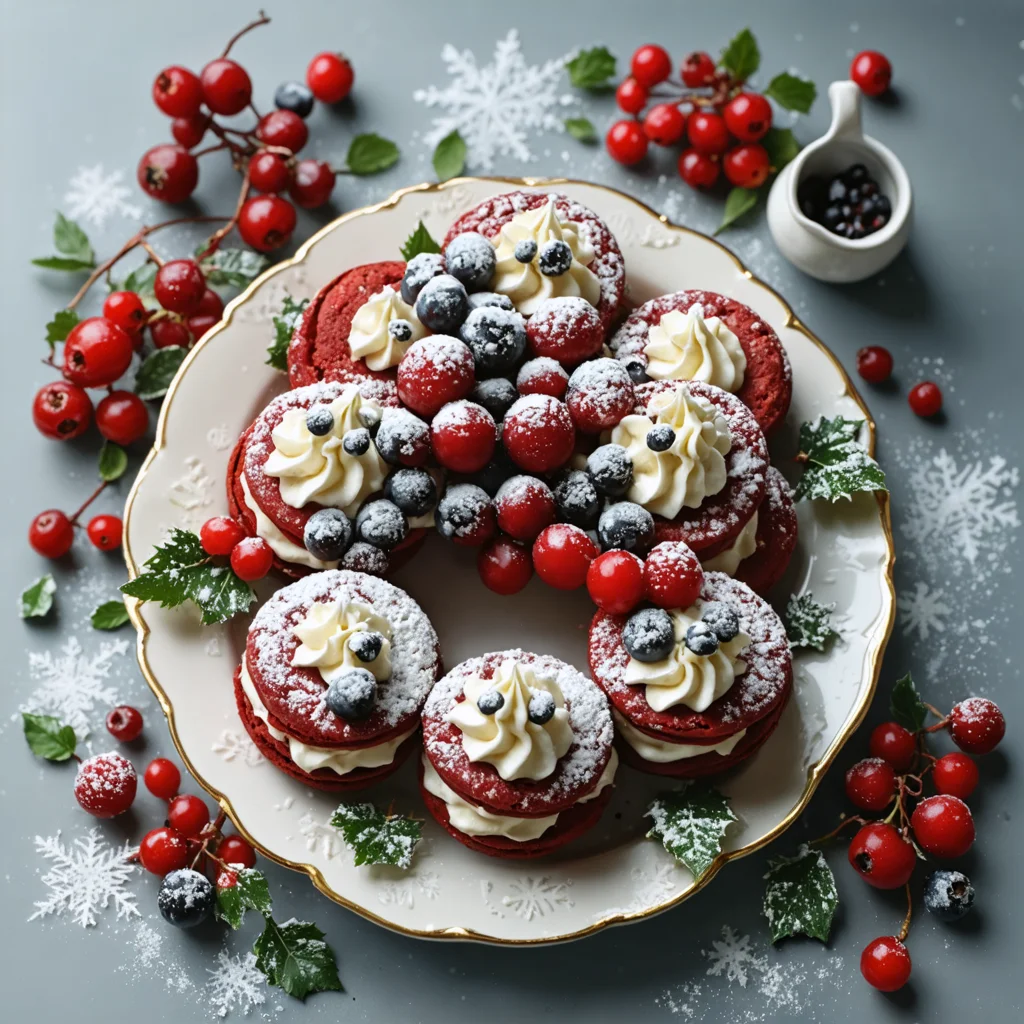
Arrange your whoopie pies in a circular pattern on a large serving platter to create an edible wreath effect. Place fresh winter greenery like rosemary or thyme sprigs between treats for authentic wreath appearance. Dust lightly with powdered sugar to simulate snow. Add small battery-operated LED lights around the platter for magical holiday ambiance. This presentation works perfectly for holiday parties, potluck gatherings, or as an impressive centerpiece that guests can enjoy throughout the evening.
Flavor Variations for Winter Celebrations
Add seasonal spices to your cream filling for winter warmth. Try cinnamon, nutmeg, or cardamom mixed into the cream cheese base. Orange zest brightens the filling and complements winter berries beautifully. For adult gatherings, add a tablespoon of bourbon or rum extract to the filling. These flavor additions create sophisticated treats that pair wonderfully with hot cocoa, coffee, or winter cocktails during holiday entertaining.
Make-Ahead Storage Solutions
Prepare whoopie pie cakes up to two days ahead and store in airtight containers at room temperature. Make cream filling the day before and refrigerate in piping bags for easy assembly. Assemble treats the morning of serving for best texture and appearance. Unfilled cakes freeze well for up to one month wrapped individually. This advance preparation reduces stress during busy holiday seasons while maintaining quality and freshness for your winter celebration desserts.
FAQs
How long do Red Velvet Wreath Whoopie Pies with Winter Berries & Cream stay fresh?
Assembled whoopie pies stay fresh for two to three days when stored in airtight containers in the refrigerator. The cream filling contains dairy products that require refrigeration for food safety. Remove from refrigerator thirty minutes before serving to bring to ideal eating temperature. Unfilled cake portions stay fresh at room temperature for up to five days, making them perfect for advance preparation during busy holiday seasons.
Can I freeze these festive whoopie pies?
Yes, you can freeze unfilled whoopie pie cakes for up to three months wrapped individually in plastic wrap. Freeze assembled treats for up to one month, though the cream filling texture may change slightly upon thawing. Thaw frozen treats overnight in the refrigerator, then bring to room temperature before serving. For best results, freeze components separately and assemble fresh for optimal texture and appearance.
What winter berries work best with red velvet flavor?
Cranberries, raspberries, and blackberries complement red velvet’s chocolate and vanilla notes perfectly. Fresh pomegranate seeds add beautiful color and crunch. Avoid strawberries as they’re not typically available fresh in winter. Dried cranberries work well too, but soak them briefly in warm water to soften before using. Choose berries that are firm and fresh for best visual appeal and flavor balance in your winter celebration treats.
How do I prevent the cream filling from becoming too runny?
Use full-fat cream cheese at room temperature and beat it thoroughly before adding other ingredients. Gradually incorporate powdered sugar to maintain proper consistency. If filling becomes too soft, refrigerate for fifteen to twenty minutes before piping. Avoid overbeating once ingredients are combined, as this can cause the filling to break down. Adding a tablespoon of cornstarch helps stabilize the mixture for better piping results.
Summary
Red Velvet Wreath Whoopie Pies with Winter Berries & Cream create stunning holiday desserts when you avoid common mistakes like overmixing batter and using incorrect temperatures. Success comes from proper technique, fresh ingredients, and creative presentation. These festive treats combine classic red velvet flavor with seasonal berries and creamy filling for perfect winter celebrations. With advance preparation options and proper storage, you can create memorable desserts that impress guests while managing holiday stress effectively.
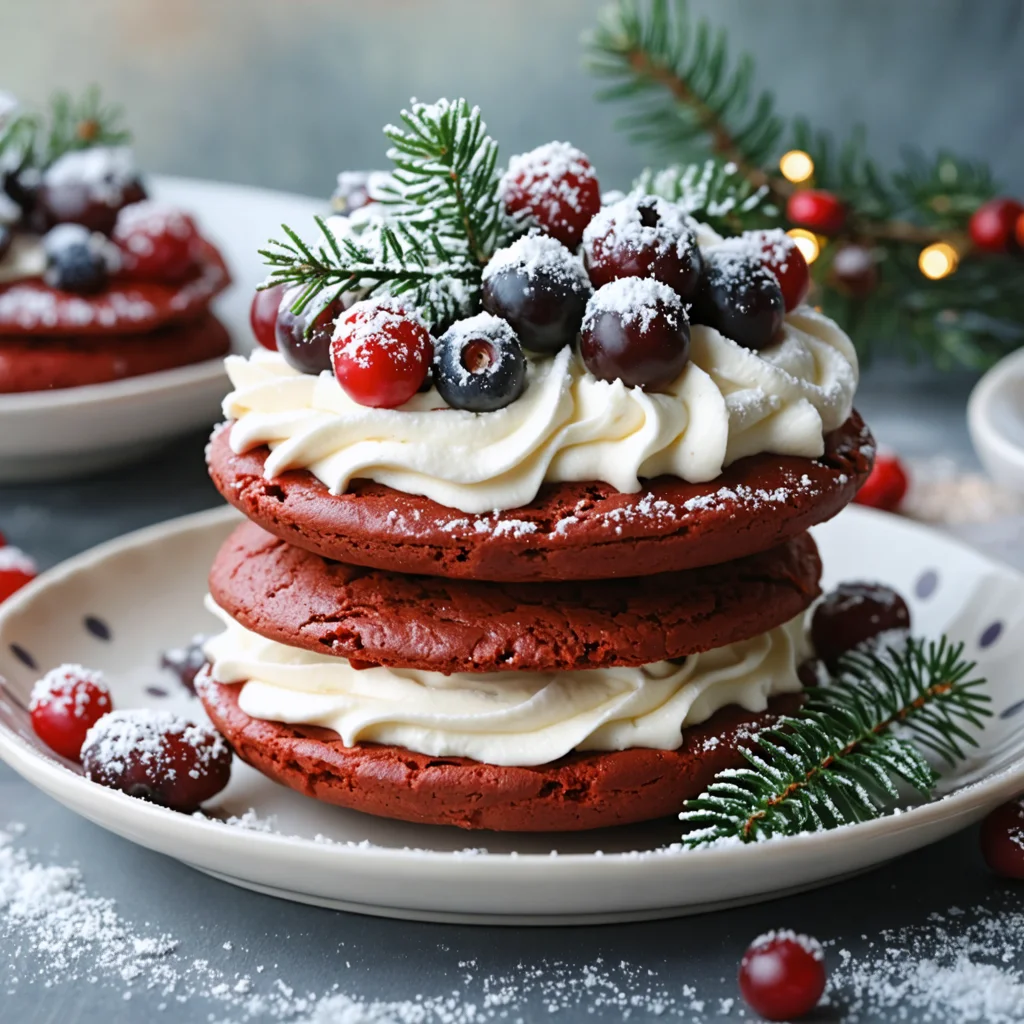
Red Velvet Wreath Whoopie Pies with Winter Berries & Cream
Festive soft red velvet cookies arranged in a stunning wreath shape, filled with luscious cream cheese frosting and adorned with fresh winter berries for the perfect holiday centerpiece dessert.
Ingredients
- 2 cups all-purpose flour
- 1/4 cup unsweetened cocoa powder
- 1 teaspoon baking soda
- 1/2 teaspoon salt
- 1/2 cup unsalted butter, softened
- 3/4 cup granulated sugar
- 1 large egg
- 1 teaspoon vanilla extract
- 1 tablespoon red food coloring
- 1 cup buttermilk
- 8 oz cream cheese, softened
- 1/2 cup unsalted butter, softened (for filling)
- 3 cups powdered sugar
- 1 teaspoon vanilla extract (for filling)
- 1 cup fresh cranberries
- 1/2 cup fresh raspberries
- 1/4 cup pomegranate seeds
- Fresh rosemary sprigs for garnish
- Powdered sugar for dusting
Instructions
- Preheat oven to 375°F (190°C). Line two large baking sheets with parchment paper.
- In a medium bowl, whisk together flour, cocoa powder, baking soda, and salt. Set aside.
- In a large bowl, cream together softened butter and granulated sugar until light and fluffy, about 3-4 minutes. Beat in egg, vanilla extract, and red food coloring until well combined.
- Alternately add the dry ingredients and buttermilk to the butter mixture, beginning and ending with the flour mixture. Mix until just combined and smooth.
- Using a cookie scoop or tablespoon, drop 24 rounded portions of dough onto prepared baking sheets, spacing them 2 inches apart.
- Bake for 10-12 minutes, or until the tops spring back lightly when touched. Cool on baking sheets for 5 minutes, then transfer to wire racks to cool completely.
- For the filling, beat cream cheese and butter until smooth and creamy. Gradually add powdered sugar and vanilla, beating until light and fluffy, about 3-4 minutes.
- Match similar-sized cookies into pairs. Spread or pipe filling onto the flat side of one cookie, then sandwich with another cookie.
- Arrange whoopie pies in a circular wreath pattern on a large serving platter. Fill the center and decorate around the wreath with fresh cranberries, raspberries, and pomegranate seeds.
- Garnish with fresh rosemary sprigs and dust lightly with powdered sugar before serving.
Tools You’ll Need
- Two large baking sheets
- Parchment paper
- Large mixing bowl
- Medium mixing bowl
- Electric mixer (hand or stand)
- Cookie scoop or tablespoon
- Wire cooling racks
- Piping bag or offset spatula
- Large round serving platter
Notes
- For best results, ensure all ingredients are at room temperature before mixing to prevent curdling and ensure smooth batter.
- Don’t overmix the batter once flour is added – this can result in tough, dense whoopie pies instead of soft, cake-like texture.
- Assembled whoopie pies can be stored covered in the refrigerator for up to 3 days, but add fresh berries just before serving for best appearance.
- For a more intense red color, add food coloring gradually until desired shade is achieved – gel food coloring works better than liquid.
Allergy Information
- Contains: Wheat (gluten), eggs, dairy (butter, cream cheese, buttermilk)
- Optional Substitutions: Use gluten-free flour blend for wheat flour, vegan butter and cream cheese for dairy-free version, flax eggs for egg substitute
Nutrition Facts (Per Serving)
- Calories: ~485 kcal
- Protein: 6g
- Carbohydrates: 78g
- Fat: 18g
- Fiber: 2g
- Sodium: 420mg