

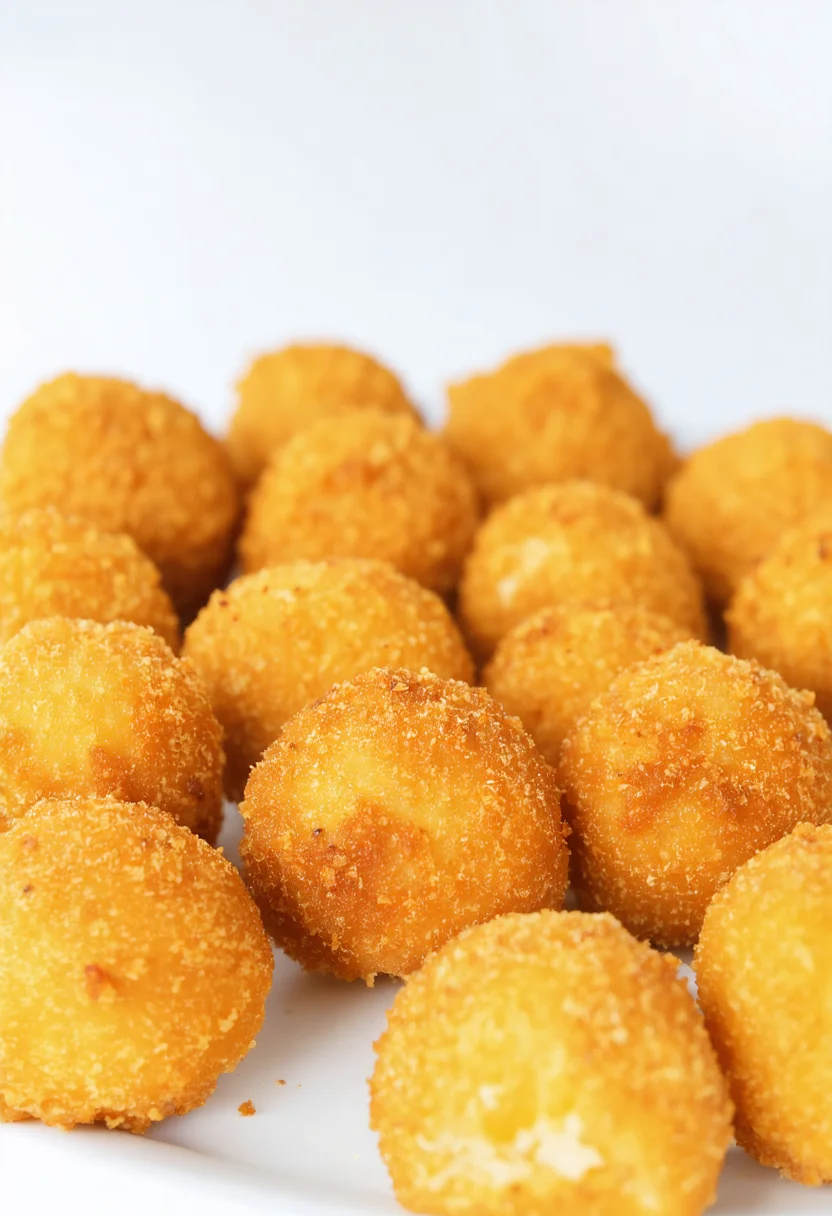
 Crispy Pumpkin Cheese Balls on Plate | recipesbybrad.comGolden and crunchy crispy pumpkin cheese balls served on a white plate
Quick Overview
Crispy Pumpkin Cheese Balls offer a savory snack that combines the rich flavor of roasted pumpkin with melted cheese encased in a crunchy coating. These bite-sized treats bring together creamy textures and a golden crust that makes them irresistible for any time of day. Whether you want to impress guests or enjoy a comforting homemade snack, this recipe delivers perfectly crisp results every time.
Ingredient Breakdown
Each ingredient plays a vital role in creating the perfect balance of flavor and texture in the crispy pumpkin cheese balls. Precise measurements ensure consistent taste and crunch. Below is an overview of all essential components.
Pumpkin Purée (1 cup)
This smooth purée provides moisture and natural sweetness while acting as the base flavor. Use cooked and mashed fresh pumpkin or canned purée without added spices.
Shredded Mozzarella Cheese (1 cup)
Mozzarella adds creamy richness and helps bind the mixture while melting beautifully inside each ball for a gooey center.
Breadcrumbs (1 cup)
These create structure within the mixture and form the crispy outer layer when coated before frying or baking.
Grated Parmesan Cheese (½ cup)
Parmesan enhances cheesy flavor depth and adds a slight salty sharpness complementing the mild mozzarella.
Egg (1 large)
The egg binds all ingredients together securely and helps breadcrumbs adhere to form a firm crust after cooking.
Garlic Powder (½ teaspoon)
A subtle hint of garlic infuses savory complexity without overpowering the delicate pumpkin flavor.
Salt (½ teaspoon) and Black Pepper (¼ teaspoon)
Seasoning balances sweetness from the pumpkin purée and enhances overall taste with just enough spice.
Vegetable Oil (for frying)
A neutral oil with a high smoke point ensures even frying to achieve golden-brown crispiness without altering flavor.
Step By step Recipe: Crispy Pumpkin Cheese Balls
This section guides you through making crispy pumpkin cheese balls from start to finish with clear instructions for best results in texture and taste.
Step 1: Prepare the Pumpkin Mixture
Begin by combining one cup of smooth pumpkin purée with shredded mozzarella cheese in a mixing bowl. Add grated Parmesan along with garlic powder, salt, and black pepper. Crack in one large egg to help bind everything together. Mix all ingredients thoroughly until evenly combined into a sticky but workable dough-like consistency suitable for shaping.
Step 2: Shape Into Balls
Scoop approximately one tablespoon of the mixture at a time using your hands or a small spoon. Roll each portion between your palms to form uniform balls about one inch in diameter. Place them on a tray lined with parchment paper to prevent sticking during preparation before cooking.
Step 3: Coat with Breadcrumbs
Pour breadcrumbs into a shallow dish. Carefully roll each formed ball through the breadcrumbs until fully coated on all sides. This breadcrumb layer will turn golden brown and crisp up nicely during cooking, providing texture contrast to the soft filling inside these cheesy snacks.
Step 4: Fry Until Golden Brown
Heat vegetable oil in a deep pan over medium heat until shimmering but not smoking. Gently place coated balls into hot oil without overcrowding to maintain temperature stability. Fry each batch for about three to four minutes or until they turn golden brown evenly on all sides. Use a slotted spoon to transfer cooked balls onto paper towels to drain excess oil.
Step 5: Serve Warm
Allow crispy pumpkin cheese balls to cool slightly before serving so the melted cheese inside sets just enough but remains gooey when bitten into. These are perfect served as appetizers alongside dipping sauces like marinara or garlic aioli for added flavor contrast.
Serving and Storing Tips
This section provides helpful advice on how best to enjoy your crispy pumpkin cheese balls immediately as well as how to store leftovers safely without losing their crispness or flavor.
Serving Suggestions
Crispy pumpkin cheese balls are ideal when served warm for maximum flavor impact. Pair them with fresh tomato salsa or creamy ranch dressing as dips that complement both sweet pumpkin notes and cheesy richness perfectly during gatherings or casual snacking occasions.
Storing Leftovers
If you have leftover crispy pumpkin cheese balls, store them in an airtight container refrigerated for up to three days. To reheat while keeping them crispy, bake briefly at 375°F (190°C) on a wire rack instead of microwave heating which can make them soggy.
Mistakes to avoid
When making crispy pumpkin cheese balls, avoiding common errors will improve your final result. Pay attention to the moisture level in the pumpkin, the coating process, and the frying temperature. These factors directly affect texture and flavor.
Using Too Much Moisture in Pumpkin Mixture
If the pumpkin puree contains excessive moisture, the cheese balls become soggy and fail to crisp properly. Always drain cooked pumpkin or cook it down to remove extra water before mixing. A dry mixture helps maintain a crunchy exterior while keeping the inside soft.
Skipping Proper Coating Steps
Not coating the balls evenly with flour, egg, and breadcrumbs results in uneven frying and poor texture. Follow a three-step breading method: flour first, then egg wash, and finally breadcrumbs. This layering locks in moisture and creates a consistent crispy crust.
Frying at Incorrect Temperature
Frying at too low or too high heat causes problems. Low temperatures make the balls absorb excess oil, becoming greasy, while high heat burns the outside before cooking inside. Maintain an oil temperature around 350°F (175°C) for perfect golden crispiness.
Tips and tricks
These tips help you master crispy pumpkin cheese balls by improving flavor, texture, and presentation. Small adjustments can make a big difference in your cooking experience and results.
Selecting the Right Cheese
Choosing cheese that melts well but holds shape is key for delightful crispy pumpkin cheese balls. Mozzarella provides stretchiness while cheddar offers sharp flavor. Mixing cheeses balances taste and texture perfectly. Avoid overly soft cheeses that leak during frying as this can cause oil splatter and sogginess.
Adding Herbs and Spices for Depth
Incorporate fresh herbs like parsley or thyme along with spices such as paprika or nutmeg into your pumpkin mixture to boost aroma and complexity without overpowering natural flavors. These additions complement both pumpkin sweetness and cheese richness, creating a well-rounded bite that tastes fresh yet comforting.
Using Panko Breadcrumbs for Extra Crunch
Panko breadcrumbs create a lighter, airier crust compared to regular breadcrumbs, resulting in superior crunch on crispy pumpkin cheese balls. They absorb less oil during frying which keeps bites crisp longer after cooking. For even more texture contrast, try mixing panko with finely chopped nuts like almonds or pecans.
Suggestions for Crispy Pumpkin Cheese Balls
Consider these ideas to customize your crispy pumpkin cheese balls recipe according to taste preferences or occasions.
Serve with Dipping Sauces
Pairing crispy pumpkin cheese balls with dipping sauces enhances their appeal. Options like spicy sriracha mayo, creamy garlic aioli, or tangy marinara add layers of flavor that complement the mild sweetness of pumpkin and savory cheese perfectly.
Add Cooked Bacon Bits for Savory Twist
Mixing crisp bacon pieces into your mixture introduces smoky saltiness that contrasts beautifully with smooth pumpkin and melted cheese. This addition works well for appetizer platters or casual gatherings where bold flavors shine.
Bake Instead of Frying for Healthier Option
If frying is not preferred, baking your crispy pumpkin cheese balls offers a lighter alternative. Coat them properly with oil spray before placing on a parchment-lined tray. Baking at a high temperature until golden keeps them crunchy while reducing oil content significantly.
FAQs
What makes Crispy Pumpkin Cheese Balls so delicious?
Crispy pumpkin cheese balls combine creamy melted cheese with naturally sweet pumpkin inside a crunchy coating. The contrast between textures—soft interior versus crisp exterior—plus seasoning choices creates a satisfying taste experience perfect as snack or appetizer.
How do I store leftover Crispy Pumpkin Cheese Balls?
Store leftovers in an airtight container placed in the refrigerator for up to two days. Reheat them in an oven or air fryer at medium heat to restore their crispiness without drying out the filling. Avoid microwaving as it may result in soggy texture.
Can I prepare Crispy Pumpkin Cheese Balls ahead of time?
You can prepare the mixture and form the balls ahead of time, then refrigerate them covered for up to one day before breading and frying. This helps save time on busy days while maintaining freshness when cooked shortly after preparation.
Are there vegetarian options for Crispy Pumpkin Cheese Balls?
The classic recipe is already vegetarian if using plant-based cheeses or regular dairy cheeses without animal rennet. To keep it fully vegetarian-friendly, confirm ingredient sources especially for cheese varieties used in preparation.
Summary
Crispy pumpkin cheese balls offer a delightful combination of creamy filling encased in a crunchy shell. Avoid moisture issues, coat properly, and fry at correct temperatures for best results. Using good melting cheeses along with flavorful herbs enhances taste while serving suggestions like dips expand enjoyment options greatly.
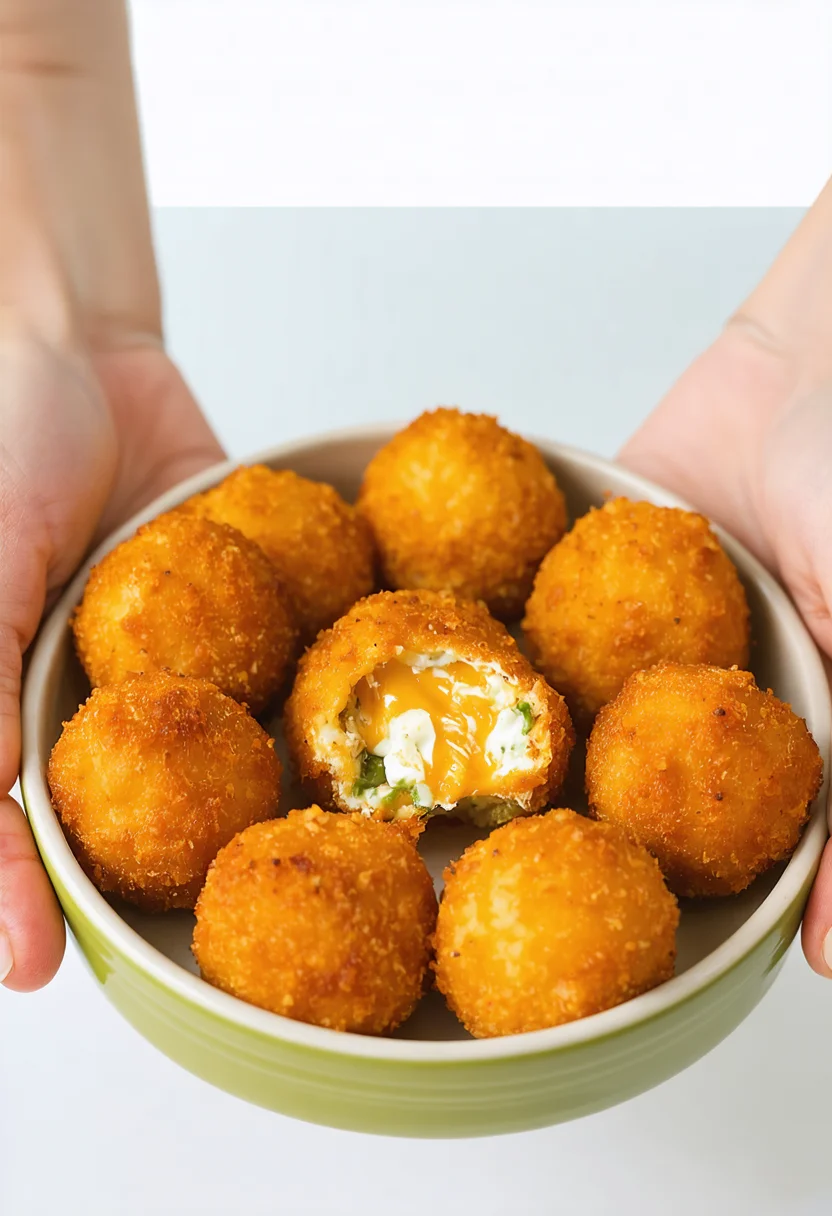
Crispy Pumpkin Cheese Balls
Golden, crispy crusts give way to a warm, creamy, and cheesy pumpkin-spiced center—an irresistible appetizer that vanishes quickly!
Ingredients
- 1 cup canned pumpkin puree (unsweetened)
- 8 oz cream cheese, softened
- 1 cup shredded sharp cheddar cheese
- 1 teaspoon ground cinnamon
- ½ teaspoon ground nutmeg
- ½ teaspoon garlic powder
- ¼ teaspoon salt
- ¼ teaspoon black pepper
- 1 cup all-purpose flour, for dredging
- 2 large eggs, beaten
- 1 ½ cups panko breadcrumbs
- Vegetable oil, for frying (about 2 cups)
Instructions
- In a large bowl, combine pumpkin puree, softened cream cheese, shredded cheddar, cinnamon, nutmeg, garlic powder, salt, and pepper. Mix until smooth and fully incorporated.
- Scoop about 1 tablespoon of the mixture and shape it into a ball using your hands. Place on a parchment-lined baking sheet. Repeat until all mixture is used (approx. 24 balls). Chill in the refrigerator for at least 30 minutes to firm up.
- Set up a dredging station with three shallow bowls: one with flour, one with beaten eggs, and one with panko breadcrumbs.
- Working with chilled balls, roll each one first in flour to coat evenly, then dip into the egg wash, and finally coat thoroughly with panko breadcrumbs. Place back on the baking sheet.
- Heat vegetable oil in a deep skillet or heavy-bottomed pot to 350°F (175°C). Use a thermometer to monitor temperature for even frying.
- Carefully fry the cheese balls in batches of 6-8 to avoid overcrowding. Fry for about 2-3 minutes per batch or until golden brown and crispy on all sides. Use a slotted spoon to turn them gently halfway through cooking.
- Remove fried balls and drain on paper towels. Let cool for a few minutes before serving—the centers should be warm and gooey while the exterior remains crisp.
- Serve immediately with your favorite dipping sauce or spiced honey for an extra touch of sweetness.
Tools You’ll Need
- Bowl for mixing
- Parchment paper-lined baking sheet
- Spoons or small ice cream scoop
- Thermometer (candy or deep-fry)
- Deep skillet or heavy-bottomed pot for frying
- Slotted spoon or spider strainer
- Paper towels for draining oil
Notes
- If mixture feels too soft to shape after chilling, freeze balls for 10-15 minutes before coating.
- Panko breadcrumbs create extra crunch—regular breadcrumbs can be used but expect less crispiness.
- Keep oil temperature steady between 350°F-360°F to ensure even cooking without absorbing excess oil.
- Serve immediately after frying as the crust softens if left too long.
Allergy Information
- Contains: Dairy (cream cheese, cheddar), Eggs, Wheat (flour and breadcrumbs)
- Optional Substitutions: Use dairy-free cream cheese and vegan cheese alternatives; substitute gluten-free flour and breadcrumbs to make gluten-free; use flax eggs instead of chicken eggs.
Nutrition Facts (Per Serving)
- Calories: ~280 kcal
- Protein: 9g
- Carbohydrates: 18g
- Fat: 18g
- Fiber: 2g
- Sodium: 320mg